Magnetizing the Tomb Kings Warsphinx / Necrosphinx

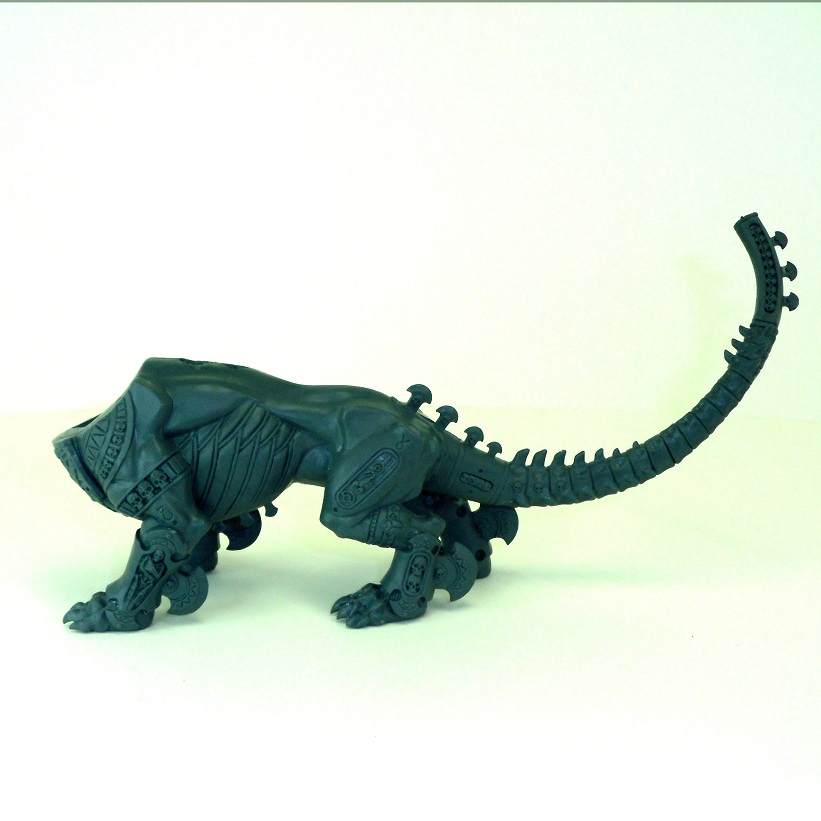
This is a modelling guide for the Warhammer fantasy Tomb Kings, Khemri Warsphinx/Necrosphinx. We will go through some of the things they don’t show you in the GW instructions, I’ll explain how to magnetize the model so you can switch between all the options available in the kit!
You will need :
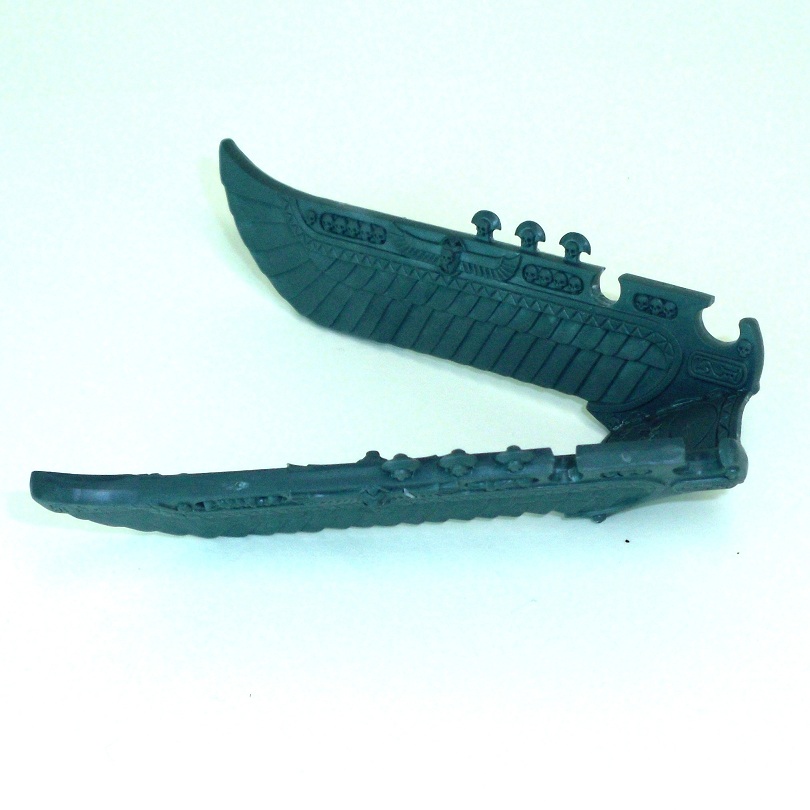
This is an excellent model, and seems like its built to make the parts swappable, there’s only 2 small pieces that are hard to magnetize, two small decorative wings that attach either side of the warsphinx’s waist and the necrosphinx’s neck. I just stuck these to the warsphinx as you dont notice their absence from the necrosphinx.
I started by building the model into several large pieces, then attaching magnets etc.
 Part 1 – The Body
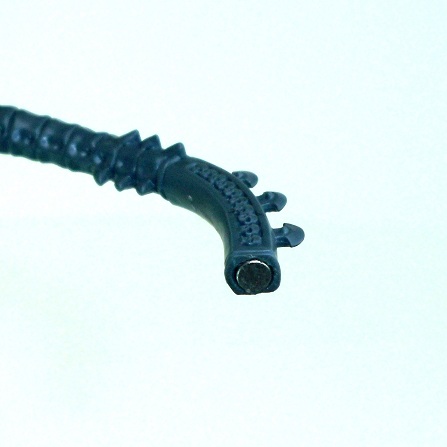
Build each leg, also make the tail as shown in the instructions but leave off the end of the tail. To magnetize it simply drill a small hole into the end of the tail, you may need to widen it with a sharp craft knife. Then using superglue, insert a magnet, you will need a small magnet, maybe 3mm diameter.
I then continued to build the whole body, although you might find it easier to build it in two half’s while putting in the next magnet.
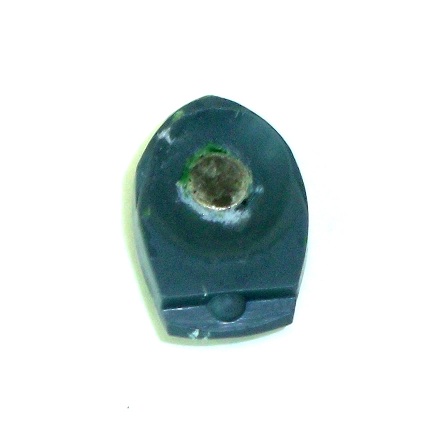
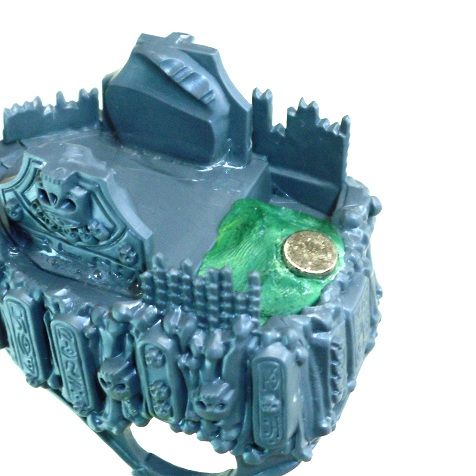
Now drill a hole just above the notch in the back of the model and widen it with a craft knife so it’s a little larger than your magnet, I used 6mm diameter magnets, they need to be quite large here to keep the wings attached.
Press a lump of greenstuff inside the body so that it covers the hole you just made.
Now using super glue press a magnet into the hole, push it well in, meaning it is a few mm below the level of the back. You need to do this as the magnet on the adjoining piece will be connect slightly inside the body.


Part 2 – The Neck
This is a really important piece, make sure you attach the magnet before gluing this piece to the body.
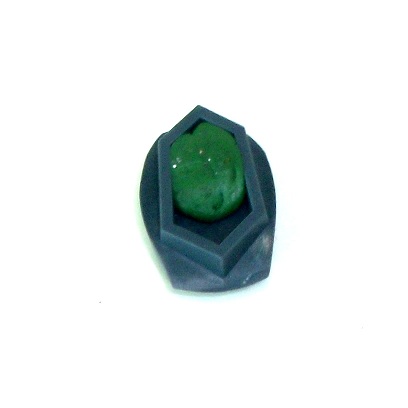
Simply drill a small hole in the centre of the depression, widen this with a craft knife.
Attach some greenstuff to the other side for support, then using superglue fix the magnet into the hole.
 Part 3 – The Tail
There are two tail options, these will attach to the end of the tail. Make sure to get the magnets the correct way round!
Again drill small holes into each piece, widening with a craft knife, and glue in small magnets.
Again, I used 3mm diameter this time.
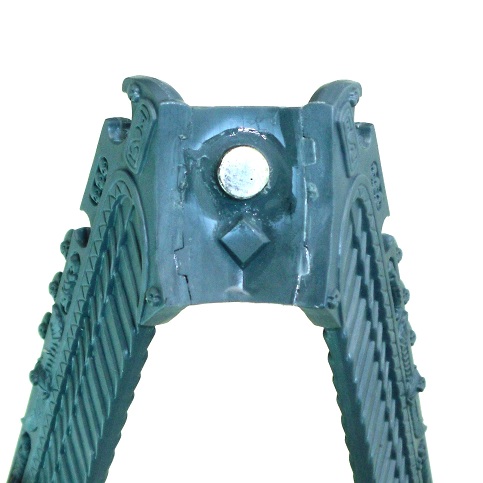
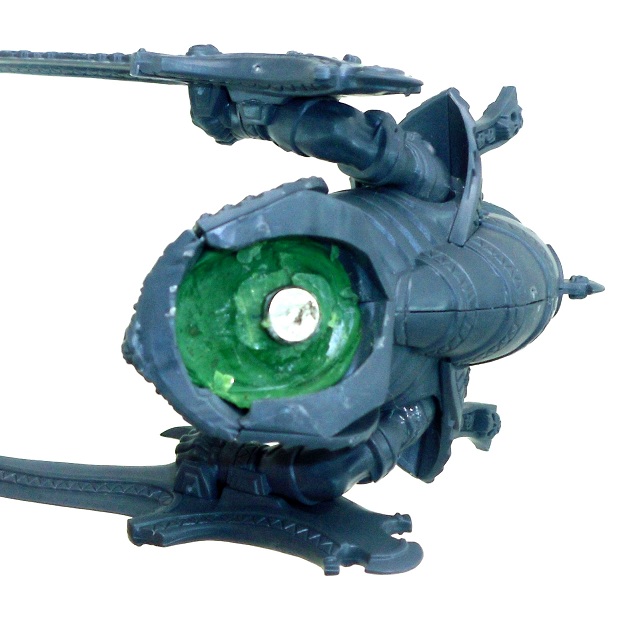
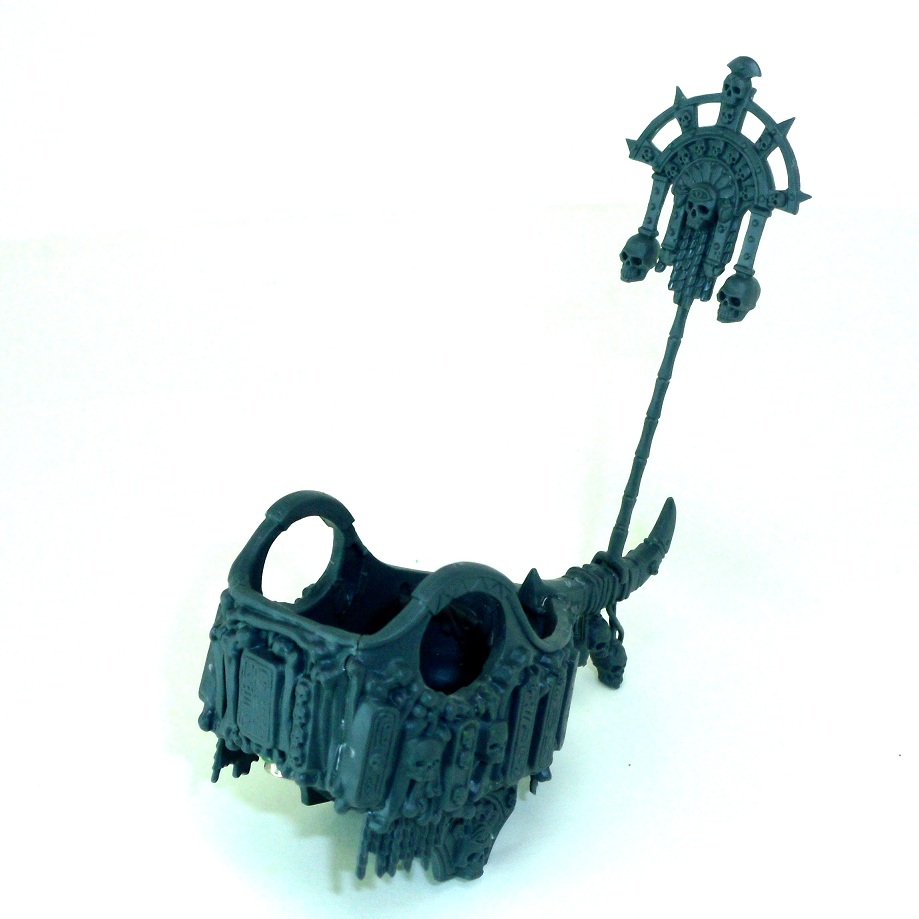
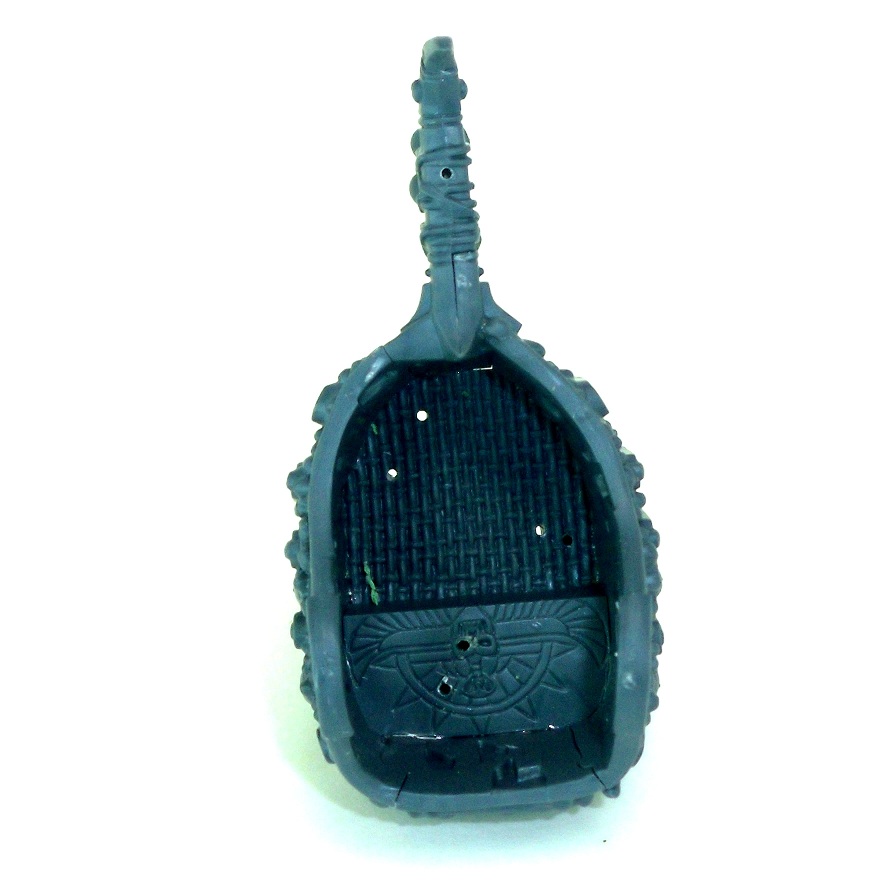
Part 4 – The Howdah
Completely build the Howdah, I’ll go through attaching the crew later.
Turn it upsidown, attach a lump of green stuff to support the next magnet, glue a magnet to this green stuff and then rest the howdah onto the body so the magnets line up.

Part 5 – Necrosphinx Head
You can make this in two pieces, as shown; the neck cover doesn’t need any magnets.
Cut a small hole into the base of the neck, push in some more greenstuff and glue in another magnet.
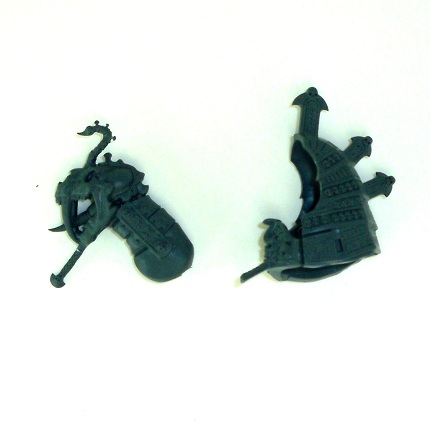

Part 6 – Warsphinx Wings
I thought this part would be difficult to magnetize when I first saw it, but luckily it was really easy. The wings are connected by a large plate, simply glue a magnet on the underside of the plate and line this up with the magnet on the body.
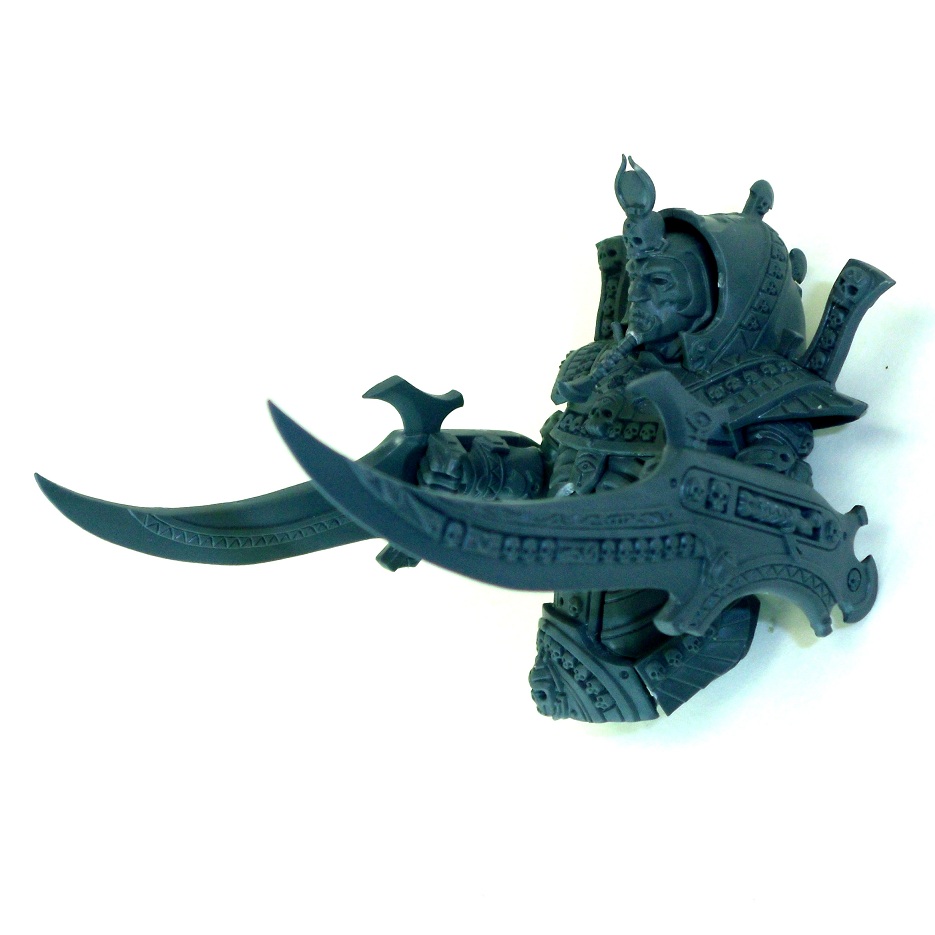
Part 7 – Warsphinx Torso
Another easy piece, build it exactly as in the instructions.
Press a lump of greenstuff inside the torso, and glue in a magnet, make sure it lines up with the magnet in the neck piece.
Other Components
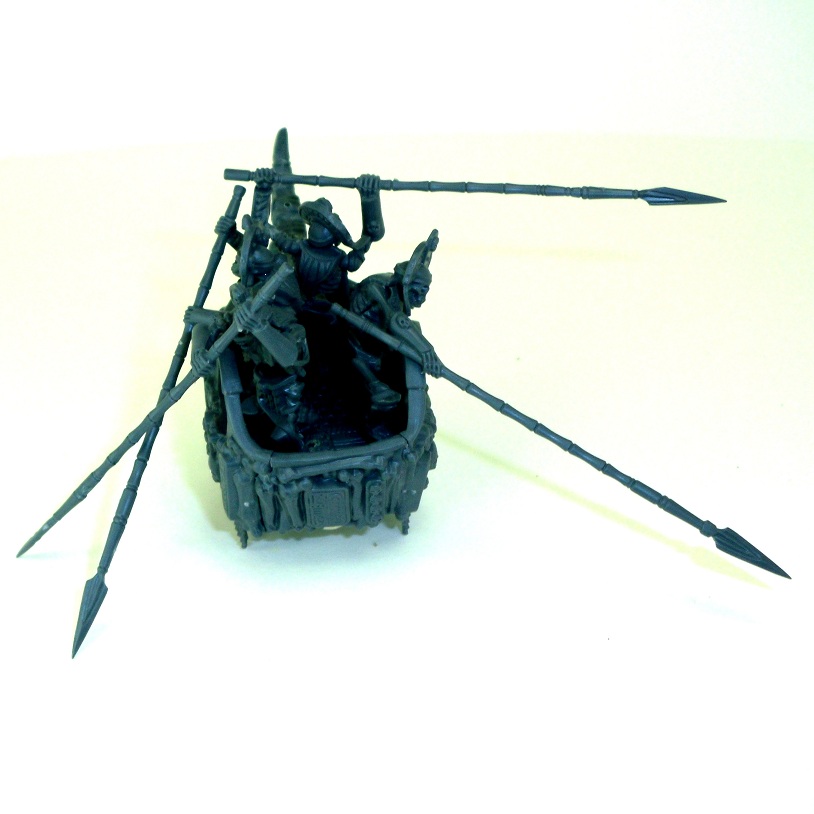
Lich Priest: Drill a small hole into the priest’s foot, glue in a small piece of paperclip. Put the base together, and drill a small hole into it, and the howdah. Now you can swap him from base to howdah!
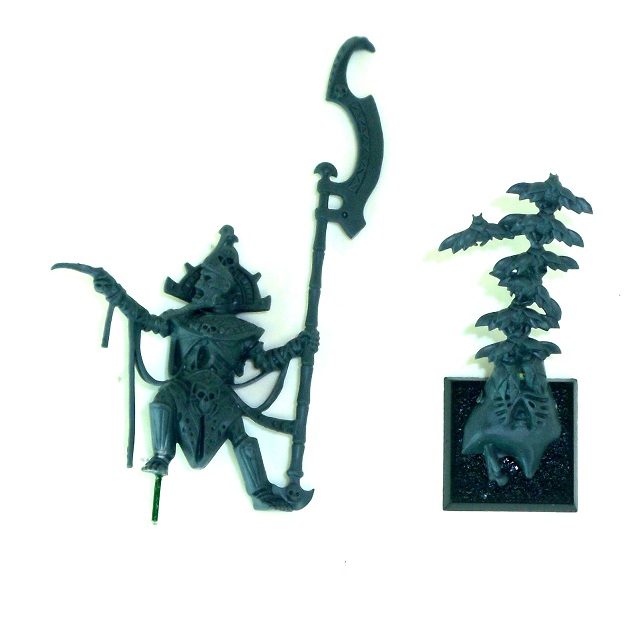
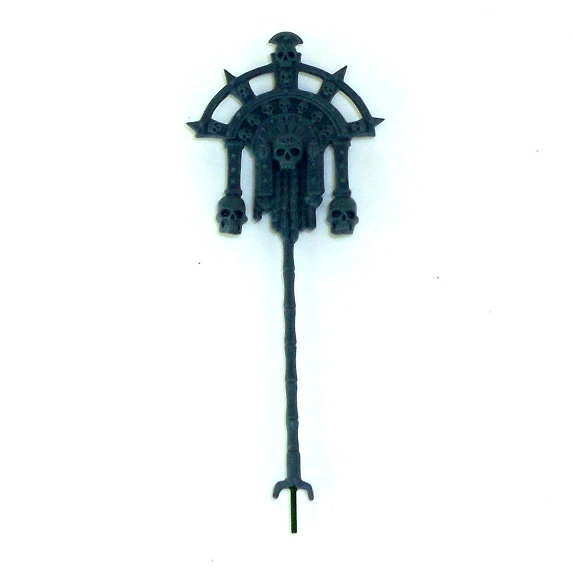
Banner – I pinned this piece too, its pretty fragile, and its handy to remove it during transport.
Crew – Finally Glue pins into each of the crew’s feet, and drill holes into the base of the howdah.
The model is now fully customizable, you can swap all the pieces to use it as whatever you need for each battle!

This guide was written by Owen from Painted Legions, visit his blog for more great guides: Painted Legions
Pingback:Warhammer Tomb Kings Khemrian Warsphinx / Necrosphinx review - Total Wargamer Blog